Follow the Steps Mentioned Below to Recover Data from VMDK Files
Step 1
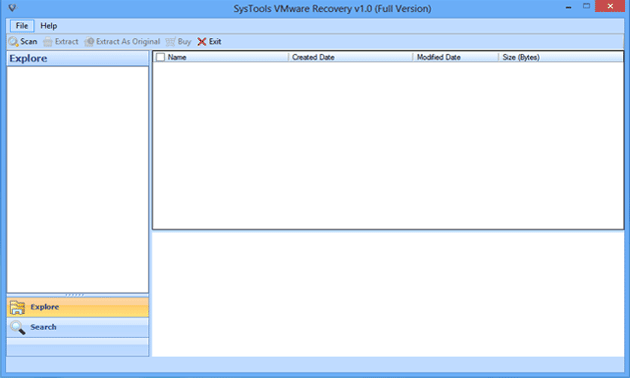
Open VMware Recovery Software. Go to Start Menu >> Programs >> Click VMware Recovery >> Run application.
Step 2
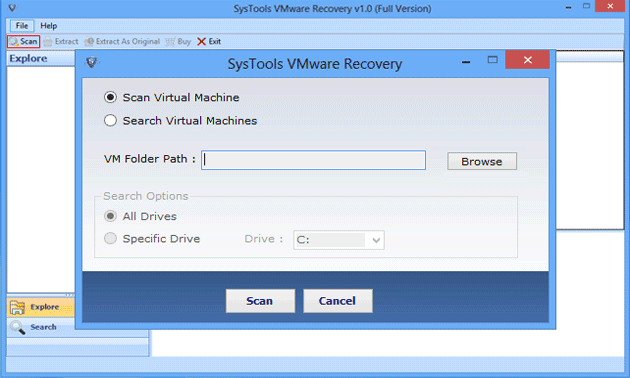
Click on "Scan" button and load .vmdk file.
Step 3
Now, choose any one option to scan Virtual machine:
- Scan Virtual Machine
- Search Virtual Machines

Step 4
Select "Scan Virtual machine" option and provide exact path of Virtual machine and scan

Step 5
Select "Search Virtual Machine" option to search machine from "All drives" or in "Specific drive".

Step 6
After using "All drive" option, all Virtual machine will appears:
Step 7
In "Specific drive" option, select the drive from where you need to extract data

Step 8
Now, clicking on "Scan" after picking the requisite option

Step 9
A notification will be popped-up after complete VMDK file scanning process >> Click "OK"
Step 10
Once the scanning is done, software will load and display the entire preview of recovered data. 
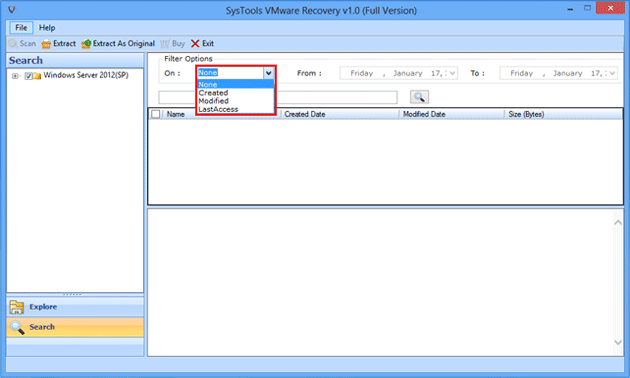
Step 11
If you want to search particular VMDK file/folder then, use "Search filter" and "Date filter" and explore data by extension, creation date, modified date.
Step 12
Software will appear following search result window after using "Search filter" 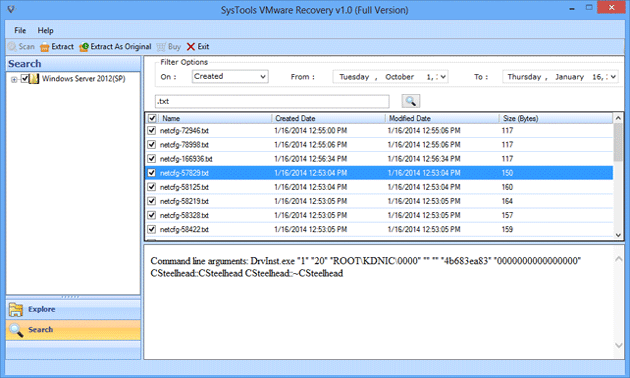
Step 13
Select any of "Saving" mode to extract and save VMDK data:
- In order to save selected folder on desired location, choose "Extract" option
- Choose "Extract as Original" option if you want to export data in previous drive

Step 14
Once the extraction process is completed, export report generated. View extraction details by clicking on "Link" 
Step 15
Now, software will appear windows for asking to save the generated CSV report

Step 16
Select simple name and location where you want to keep CSV report & Click "Save" 
Step 17
After that, software will display "Save Scanned report" on your screen. Click "OK"